Expert Guide to Broken Sash Cord Replacement: Restore Smooth Window Operation

Understanding Sash Cord Function and Common Issues
What Is a Sash Cord and How Does It Work?
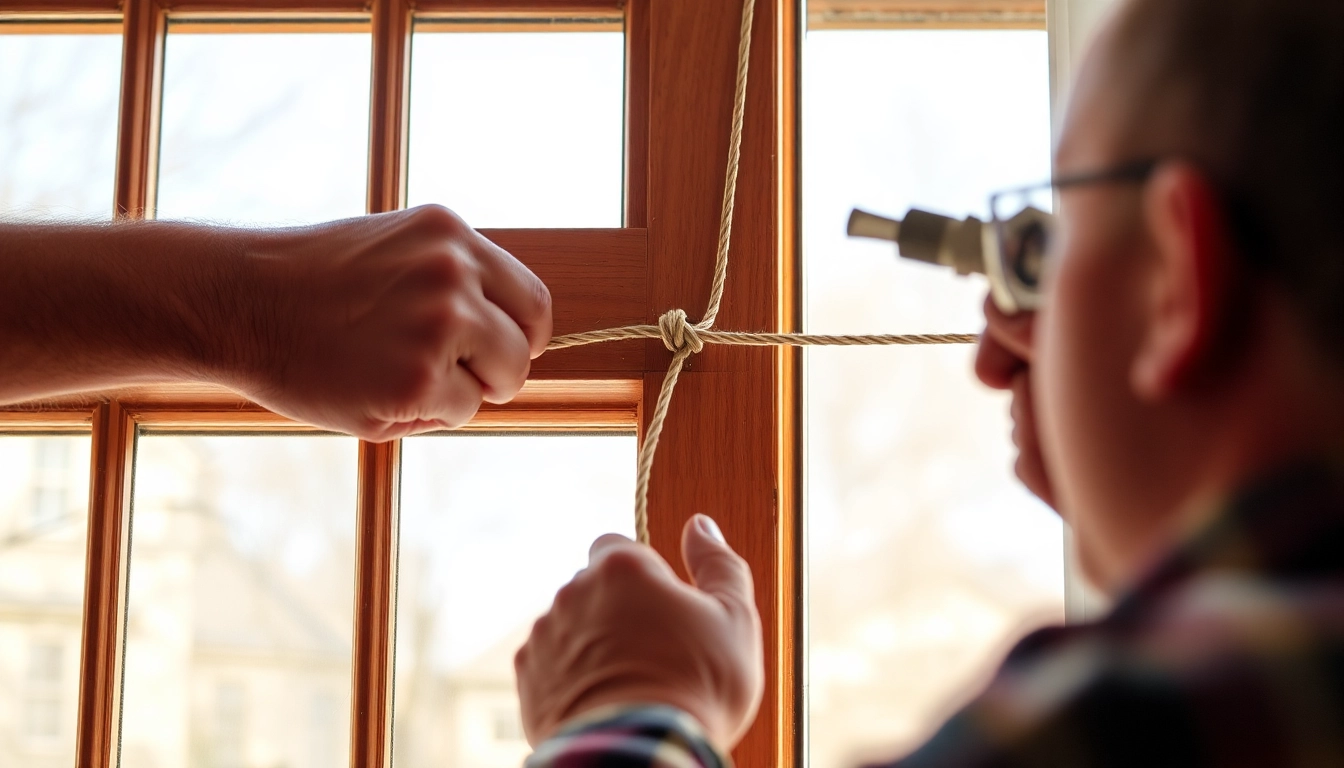
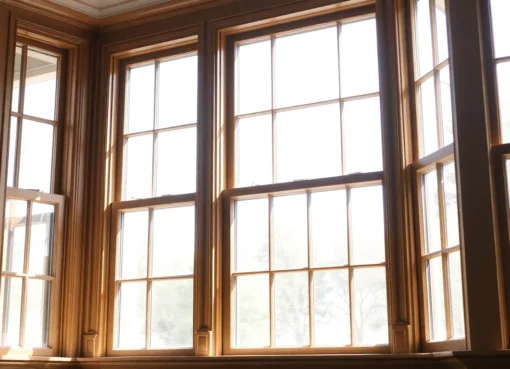
Sash cords are vital components in traditional double-hung and single-hung sash windows, especially prevalent in older UK properties. These cords, often made from strong materials such as hemp or synthetic fibres, serve as the mechanical link between the window’s sash and the counterweights within the frame. When the window is lifted or lowered, the sash cord transmits the force, allowing smooth and controlled movement. This system relies on the balance between the weight of the sash and the cord’s strength, facilitating effortless opening and closing.
In essence, the sash cord acts as a flexible connector that counterbalances the weight of the sash, preventing it from falling abruptly or sticking when operated. Since these cords are concealed within the window frame, many homeowners overlook their importance until issues arise.
For more detailed guidance on maintaining your sash windows, visit our Broken sash cord replacement section to learn about how to keep your windows operating smoothly.
Signs of a Broken or Worn Sash Cord
Recognizing the early signs of sash cord deterioration can save you from more extensive and costly repairs down the line. Common indicators include:
- Difficulty opening or closing the window: If your sash window feels stiff or requires significant effort to operate, the cord may be frayed or broken.
- Uneven sash movement: When one side moves more smoothly than the other, it typically indicates an imbalance, often caused by a damaged cord.
- Window slamming shut: A failed sash cord often results in the sash falling suddenly when the weight is no longer balanced.
- Visible damage or noise: Fraying cords or noticeable scratching sounds during window operation point to wear or breakage.
- Detached or loose sash: If the sash slips or is disconnected from the sash window frame, it might be due to a snapped or slack cord.
Addressing these signs early can prevent further damage such as broken sashes or deteriorated window frames, and ensures safety and ease of use.
Impacts of a Faulty Sash Cord on Window Performance
A faulty or broken sash cord can significantly impair window functionality and safety. The immediate impact includes difficulty in operating the sash, leading to potential security risks if windows cannot be securely closed. Over time, a compromised sash cord may cause:
- Increased wear: The sash may scrape against the frame or become misaligned, exacerbating damage to wood and hardware.
- Energy inefficiency: Gaps or misalignments can increase heat loss, affecting insulation and increasing energy bills.
- Security vulnerabilities: An unsecured sash window becomes easier for intruders to access, compromising home safety.
- Further damage: The stress placed on the sash or frame may lead to cracks, rot, or deterioration, escalating repair costs.
Therefore, timely repair or replacement of broken sash cords is not just about window operation but also about maintaining the overall integrity and security of your property.
Prepping for Sash Cord Replacement
Tools and Materials Needed for the Job
A successful sash cord replacement requires careful preparation with the right tools and materials. Essential items include:
- Sash cord material: Traditionally jute or synthetic braided cords, available at hardware stores or specialist suppliers.
- Measuring tape: To determine the length of the replacement cord accurately.
- Scissors or utility knife: For cutting the new cord to size.
- Screwdriver or chisel: To remove beading and access panels.
- Drill with bits: For creating access holes if necessary.
- Weights or counterweights: Confirm functionality or replace if damaged.
- Protective gear: Safety gloves and goggles to prevent injuries during removal and installation.
Beyond tools, consider gathering a step ladder if working on upper floors, and ensure adequate lighting for precision tasks.
Safety Precautions and Best Practices
Safety is paramount during sash cord replacement due to the use of tools and the potential for sash glass to break. Recommended precautions include:
- Work carefully with glass: Consider wearing gloves and eye protection, especially when removing beading or handling sash components.
- Use ladders safely: Ensure stable footing and avoid overreaching.
- Disconnect power tools properly: Keep tools in good condition and handle with care.
- Work in a well-ventilated area: Especially if using adhesives or cleaning agents.
- Follow manufacturer instructions: For any tools or materials used.
Additionally, if you are unsure about any step, consulting a professional ensures safety and correct installation, ultimately extending the lifespan of your windows.
Assessing Your Window’s Accessibility and Damage
Before proceeding, evaluate the accessibility of the sash window. Some older or decorative sash windows may require special tools or techniques to access the sash and cords:
- Check for access panels or removable beading: This simplifies the removal process.
- Inspect for structural damage: Rot, cracks, or hardware issues may complicate or invalidate a DIY repair.
- Determine the type of cord: Synthetic or natural fiber, and note the length and diameter for an accurate replacement.
- Evaluate the sash weight: Heavier sashes may need reinforced cords or additional support structures.
If significant damage or difficult access is present, it is advisable to seek professional help to ensure safety and optimal results.
Step-by-Step Sash Cord Replacement Process
Removing the Broken or Old Sash Cord
The first step in replacement is to carefully dismantle the window to access the cord. Follow these steps:
- Remove the window beading: Using a chisel or flat screwdriver, gently prise off the beading strips around the sash, taking care not to damage the wood or the beading itself.
- Support the sash: With assistance or clamps, carefully lift and hold the sash in a safe position.
- Identify the cord attachment points: Typically, the cord runs over pulleys at the top and attaches to the sash through hooks or slots.
- Cut any frayed sections: To free the sash from the cord, cut the old cord near the attachment points. Note the length for the new cord measurement.
- Extract the sash: Gently remove the window sash and set it aside for reinstallation after the new cord is installed.
This process often varies depending on window design; consulting guides or videos can provide visual assistance.
Measuring and Cutting the New Sash Cord
Precise measurement is critical for smooth operation. Follow these tips:
- Measure the old cord length: Ensure the measurement accounts for the entire path from sash to counterweight and over pulleys.
- Add extra length: Include approximately 2 inches to accommodate knotting and adjustments during installation.
- Select the appropriate material: Use durable, weather-resistant cords suitable for sash windows.
Cut the new cord carefully with scissors or a utility knife, ensuring clean edges to prevent fraying.
Reinstalling and Testing the New Cord
With your measurements ready, follow these steps for installation:
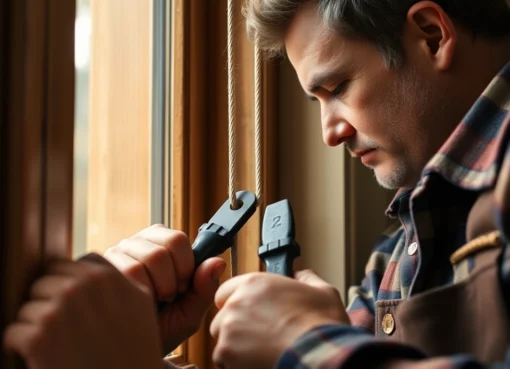
- Attach the cord to the sash: Secure the new cord to the sash using appropriate hooks or knots, as seen in your window’s original setup.
- Thread the cord over the pulley: Guide the cord over the pulley or sheave at the top of the frame, ensuring smooth movement.
- Connect to the counterweight: Tie or fasten the cord firmly to the counterweight or weight pocket, making sure the connection is secure and balanced.
- Reinstall the sash: Carefully fit the sash back into the frame, testing the movement along the track.
- Test the operation: Lift and lower the window multiple times to ensure smooth sliding, proper alignment, and balanced movement.
Adjust the tension and secure any excess cord as necessary. Once satisfied, replace the beading and clean up the work area.
Cost and Professional vs DIY Sash Cord Replacement
Average Costs in the UK for Sash Cord Replacement
The cost of replacing sash cords varies depending on the complexity, the number of cords, and whether you hire a professional or handle it yourself. According to recent sources, the typical prices in the UK are:
- Single sash cord replacement: Approximately £70.
- Inner sash cords (both sides): Around £95.
- Full replacement of all four cords: Up to £150.
Additional factors influencing cost include the window age, accessibility, and whether any structural repairs are needed.
Advantages of Hiring a Professional
While DIY can be cost-effective, engaging a professional offers several benefits:
- Expertise and precision: Professionals ensure correct measurements, secure attachments, and smooth operation.
- Time efficiency: Experience reduces installation time and minimizes errors.
- Safety assurance: Professionals are trained to handle glass and hardware safely.
- Warranty and aftercare: Many companies provide warranties or guarantees on repairs.
- Preventing damage: Proper handling prevents inadvertent damage to sash frames or glass.
Investing in professional repair can also prolong the lifespan of your windows, ultimately saving money over time.
DIY Tips for a Successful Replacement
If opting for a DIY approach, consider the following expert tips:
- Research your specific window model: Different windows may have unique hardware or require tailored techniques.
- Use high-quality materials: Investing in durable sash cords prevents frequent replacements.
- Follow step-by-step guides: Videos and tutorials, like those available on YouTube, can provide visual instructions.
- Take precise measurements: Always double-check measurements before cutting the new cord.
- Work patiently: Rushing can cause damage or unsafe conditions.
- Consider safety precautions: Wear protective gear and handle tools carefully.
Remember, if you’re unsure or the window is complex, consulting a specialist is a prudent choice.
Maintaining and Extending the Life of Sash Windows
Regular Inspection and Preventative Measures
Consistent maintenance is key to prolonging sash window lifespan and ensuring functionality. Regularly inspect for:
- Signs of wear or damage: Frayed cords, loose beading, or damaged hardware.
- Glass integrity: Cracks or chips that might compromise safety.
- Alignment and movement: Proper, effortless operation indicates healthy components.
- Weatherproofing: Check seals and paintwork to prevent rot and water ingress.
Implement preventative measures such as cleaning tracks, lubricating hardware, and replacing worn cords promptly.
Upgrading to Modern or Reinforced Cords
As technology advances, modern sash cords offer increased durability and resistance to environmental factors. Upgrading your cords can reduce frequency of replacements and enhance window safety.
- Choose high-quality synthetic cords: Resistant to moisture, rot, and fraying.
- Consider reinforced or stainless steel options: For heavy sash or high-use windows.
- Assess compatibility: Ensure new cords fit your window’s hardware and pulley system.
Professional advice can help determine the best upgrade based on your specific window type and usage.
When to Seek Professional Repairs or Window Replacement
If your sash window has sustained extensive damage, such as rot, warped wood, or hardware failure beyond the sash cord, a complete repair or replacement may be necessary. Indicators include:
- Persistent misalignment or difficulty closing: Unresolved after cord replacement indicates structural issues.
- Visible wood damage: Extensive rot or cracks requiring sash or frame replacement.
- Security concerns: Deteriorated hardware or double glazing that cannot be repaired economically.
- Age of the window: Historic or endangered frames may benefit from professional restoration or conversion to modern window systems.
Consulting a restoration specialist or window expert can help you make the most appropriate decision, balancing cost, aesthetic, and functional factors.


